Sign up to our newsletter
Bringing the Internet to Your Outbuilding: A Comparative Analysis of Solutions
Running a Network Connection to Our Outbuilding
I am writing this post to document my efforts to get internet from an outbuilding on our property and thought that others may benefit from what I learned through trial and error.
I will let you know in advance that my wife has mentioned to me that I may tend to overcomplicate things from time to time. It isn’t that… I just don’t seem to find out-of-the-box-solutions to my projects.
The Setting
Our house is about 15 years old and is wired with cat-6 for internet and phone, and coax for television. The wiring returns to a set of panels in the main utility room with other alarm and electrical panels. There is not good cellular coverage on the property due to geographical location, foliage, and topography.
The house is set up for wifi using an eero 6 mesh system provided by our ISP for just a few dollars per month. This was the most cost effective way to get full coverage with our home layout, even though it made me a little sad to have all the prewired cat-6 sitting idle.
All rooms have finished walls and ceilings, so extending or running additional wire through the house is not easy. The setup yields 143 Mbps down / 26 Mbps up
The Challenge: Extending Internet to the Outbuilding
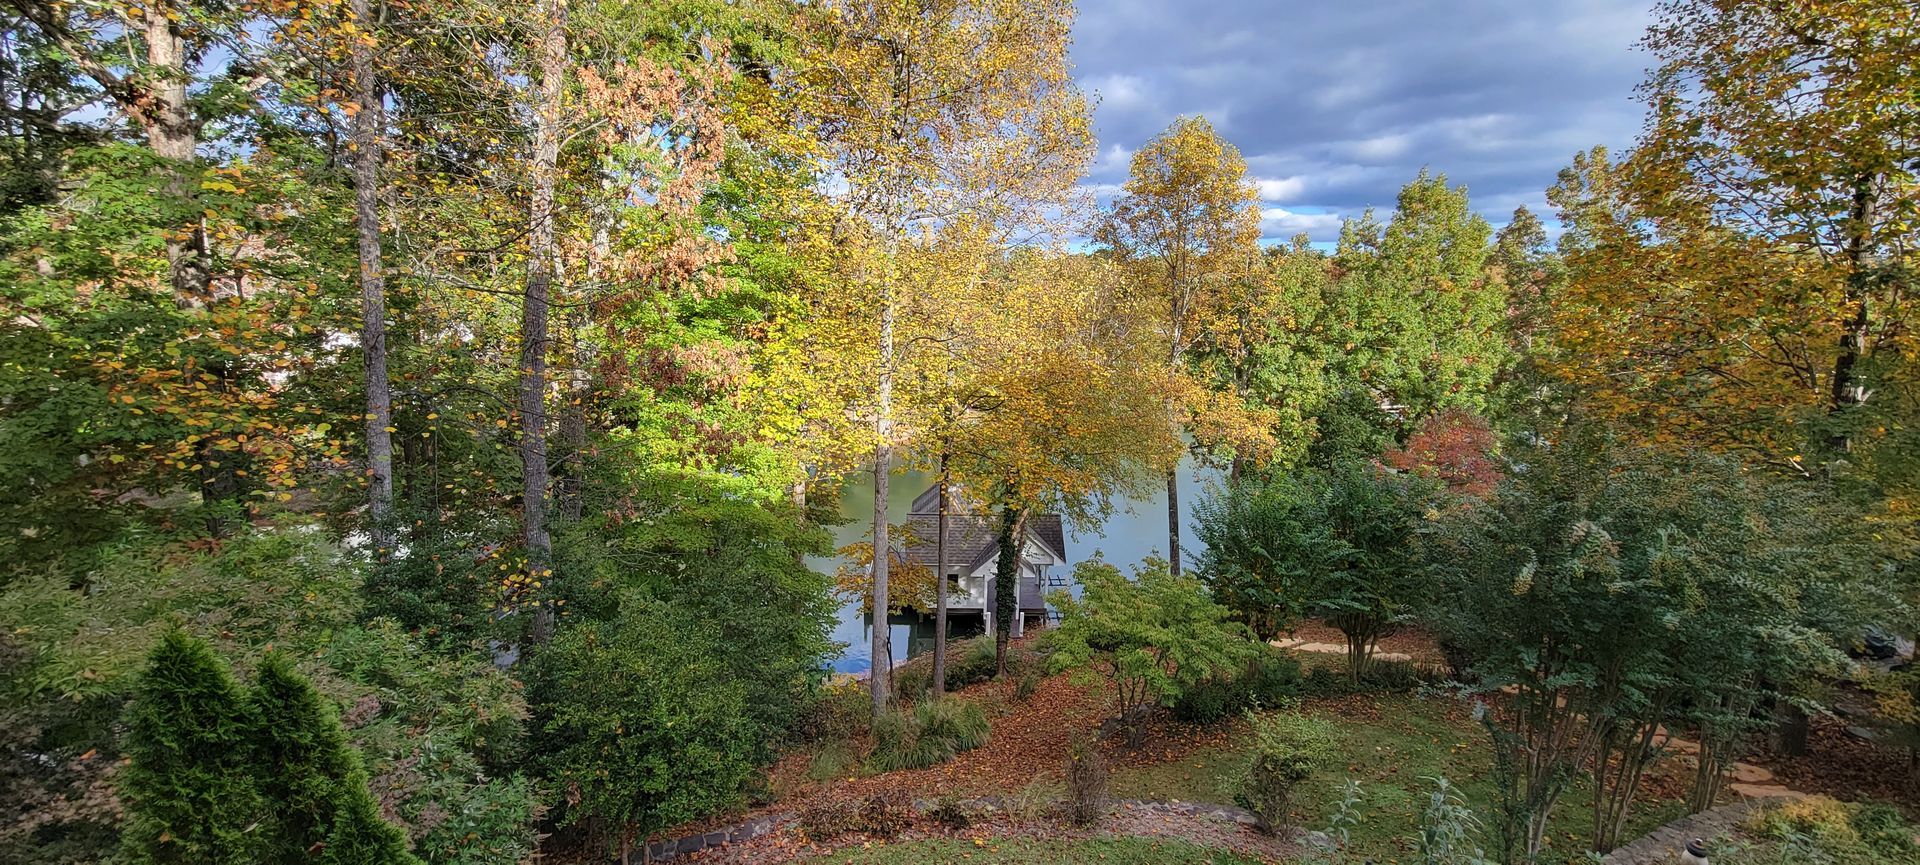
I want to have wireless internet coverage in an outbuilding so I can surf the internet, mount a security camera, and talk on my phone using wifi. The outbuilding is about 200 feet from the back of the house, downhill, and adjacent to a body of water. A cable run would be about 275 feet from router to endpoint.
Potential Solutions: A Comparative Analysis

I considered trenching and running grounded cat-6a, fiber (because if I am going to dig a trench I am going all the way), internet over powerline, and wifi bridge as solutions.
I have concerns about transient voltages near the water so I am leaning away from the cat6a solution.
Option 1: Internet Over Powerline, rev 1
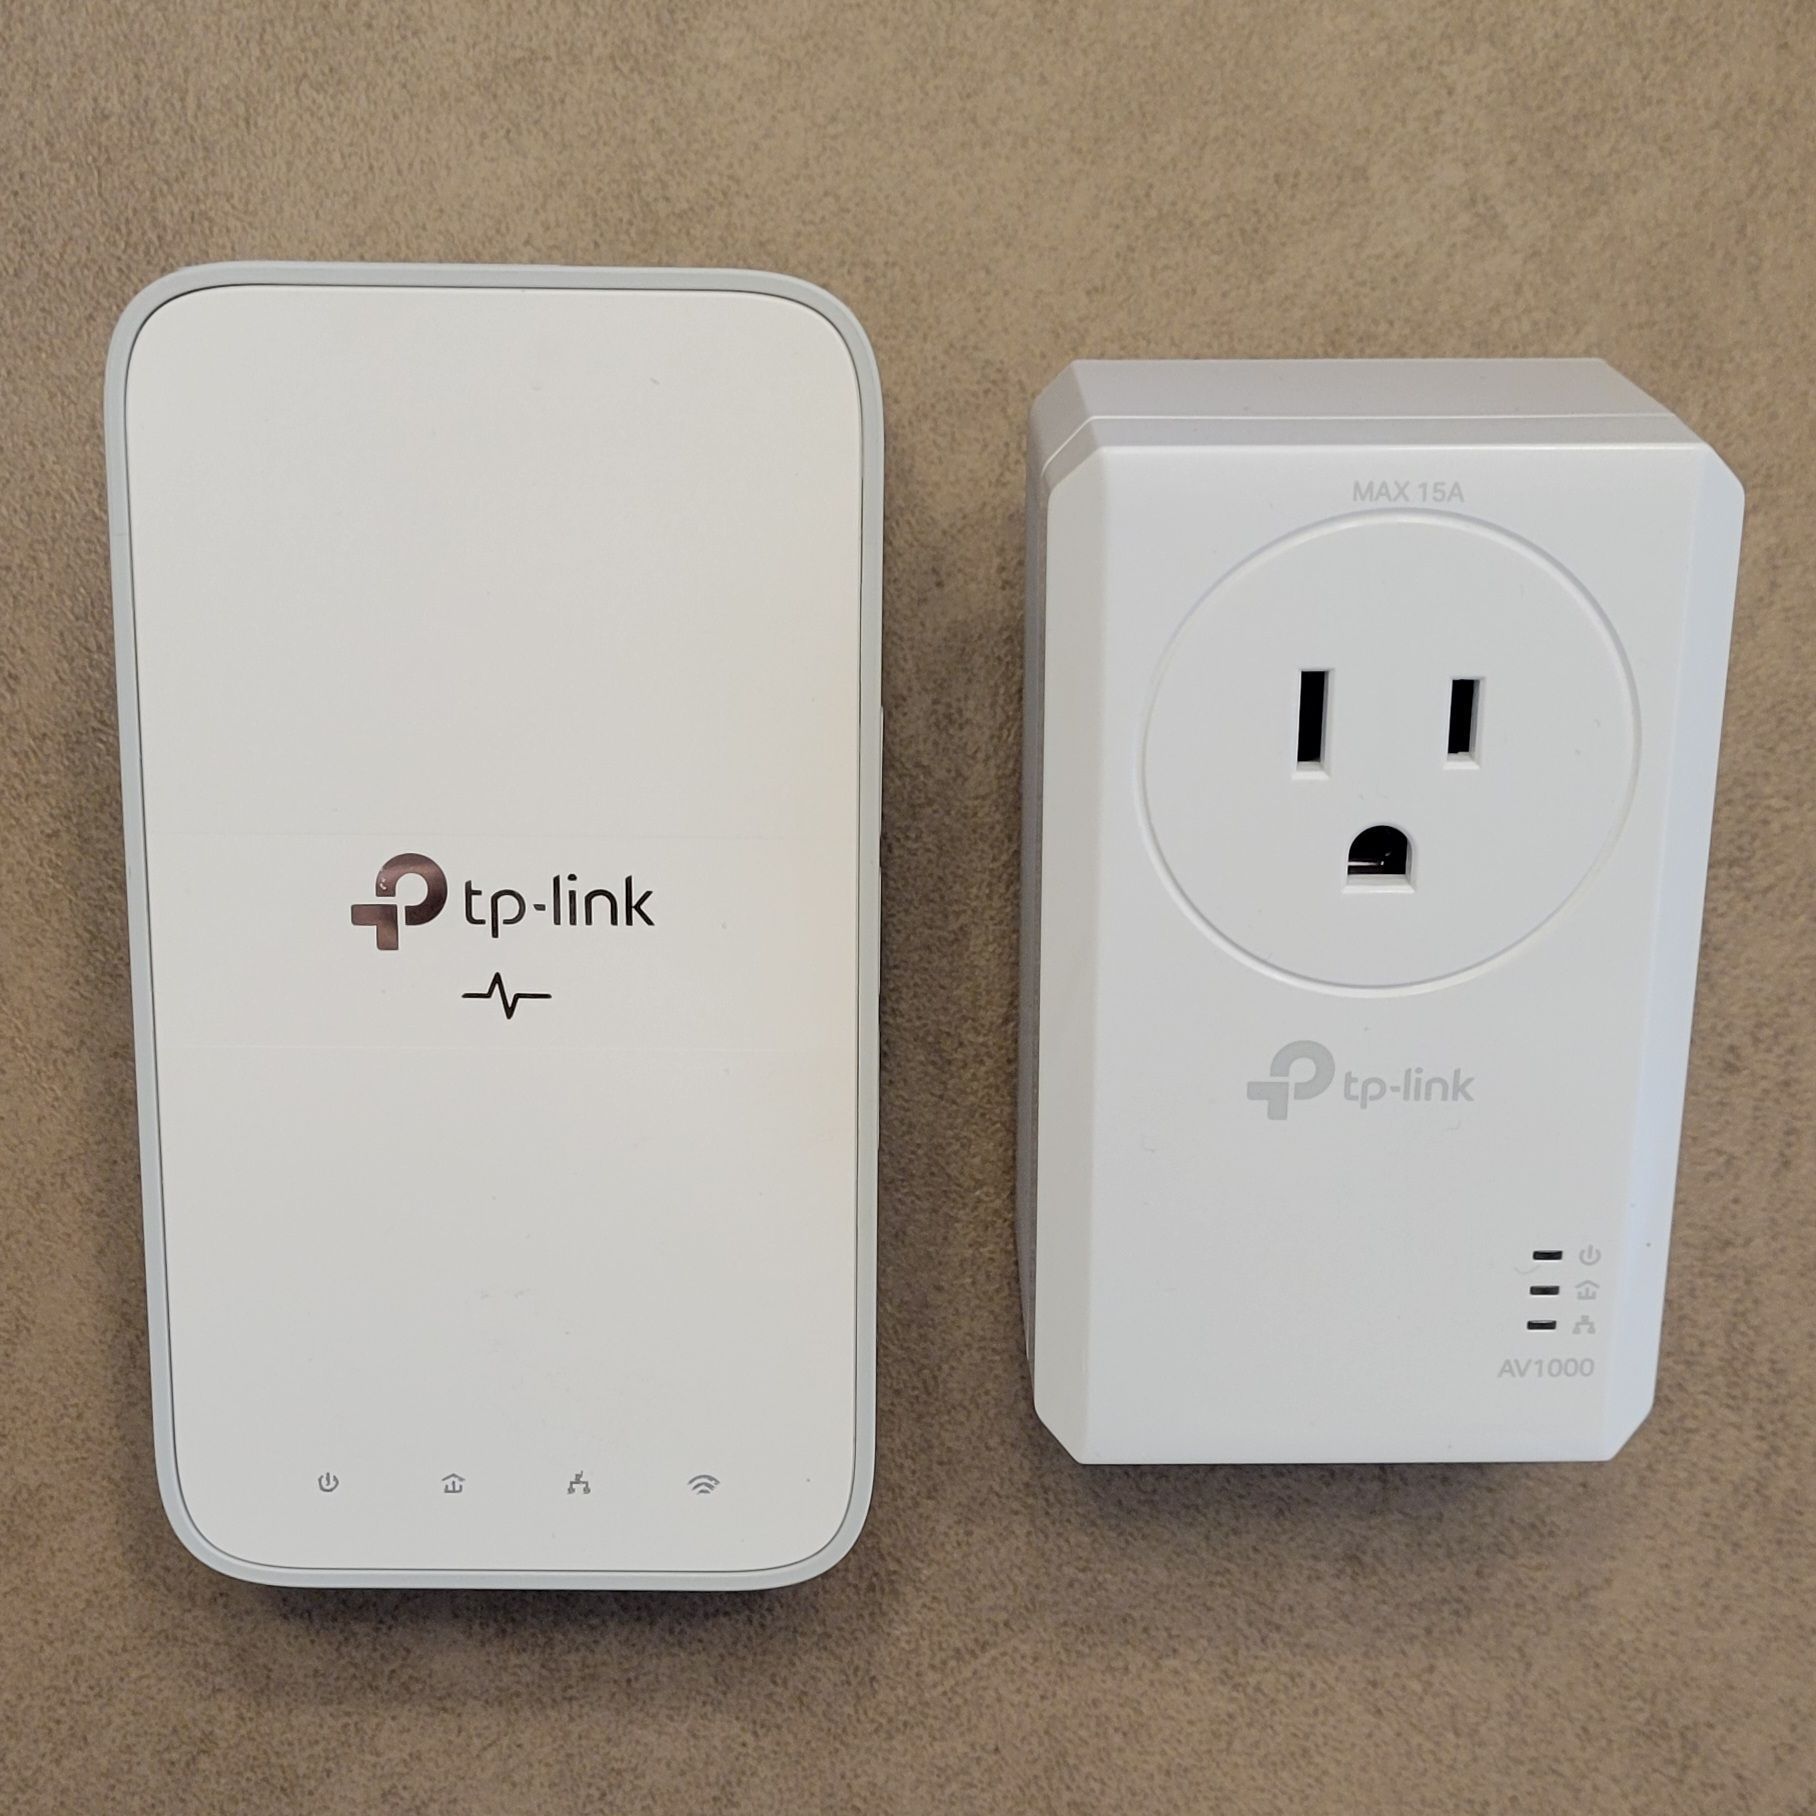
I thought that the easiest way to solve this would be internet over powerline, so I purchased a TP-Link TL-WPA7617KIT (https://www.amazon.com/dp/B09L85MFNY).
I set it up inside the house first, knowing that the conditions are not ideal. I plugged the primary unit into the outlet nearest to the breaker box so the signal would travel the shortest distance to the outbuilding. Because it is below grade the outlets are all GFCI, and the space is surrounded by various electronics, electrical wiring, and HVAC systems.
I ran a speed test and got good results (35Mbps / 27Mbps). I took the client unit to the furthest point inside the house and got similar results. I really like the app that can help configure advanced settings, but the unit works out of the box with no setup beyond the initial pairing of the units by pressing a button on each.
Then I took the client unit to the outbuilding and plugged it in to the outlet nearest the breaker panel, waited for connection… and waited… finally, the connection light came on. It was only momentary, then it turned off. I tried other outlets with no connection at all.
So I had some success, but ultimately the TP-Link does not do what I need in this application. This would still be a solid choice for an application within the house though.
Then I thought that maybe a different brand would have a different outcome?
Option 2: Internet Over Powerline, rev 2
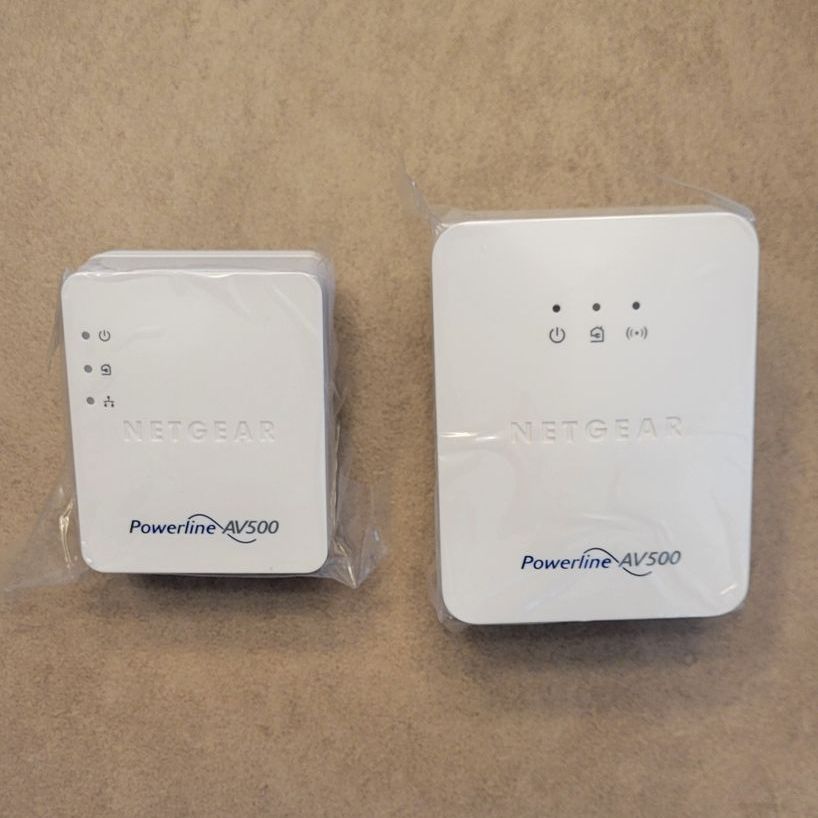
I thought that because I had an almost connection that maybe a different brand would yield better results.
I purchased a Netgear Powerline AV500 (https://www.amazon.com/dp/B009WG6K66) and went through the same installation method as with the first unit.
This time the inside speed test had a weaker result (13Mbps / 12Mbps), but it was enough to keep testing. As a point of comparison, this unit came with a CD and instructions to download a desktop application for advanced setup. It was a bit more clumsy to use than the TP-Link, but in the grand scheme of things something I would likely do one time and never touch again.
I took the client unit to the outbuilding and had a very temporary connection from one outlet and no connection from the other outlets. So the outcome was the same as with the TP-Link unit.
Option 3: WiFi Bridge
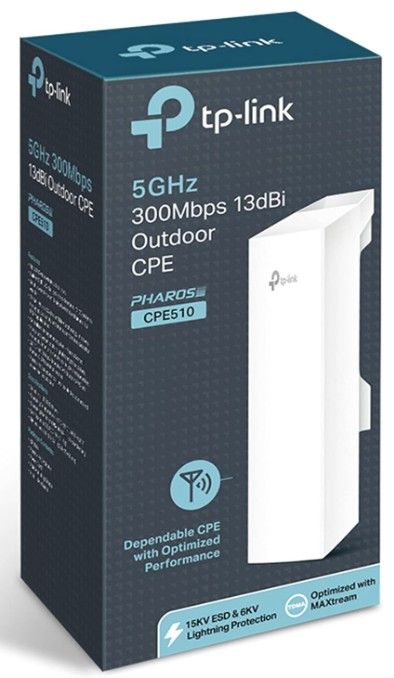
I purchased two TP-Link 5GHz N300 wireless bridge units: (https://www.amazon.com/gp/product/B00N2RO63U).
Setup was slightly more involved than with the internet over powerline units, but the step by step instructions were very clear and could be easily followed by a beginner.
I took the units to positions near their mounting points and confirmed with the built in tools that they had excellent connectivity, even when not pointed directly at each other. Of course they did, I am using these to send a signal 200 feet and they are designed for 20km, which is more than 300x the distance.
Ok, so it is also futureproof - you know, in case the outbuilding moves to another county.
WiFi Bridges: A Reliable Solution
So I decided to use the bridge to get the signal form the house to the outbuilding. Mounting the units was a little challenging due to the aforementioned topography. By mounting the client to the side of the outbuilding and mounting the access point low on the house, I had line of sight below the tree canopy, so it worked without having to install a pole.
The Hybrid Approach: Combining Technologies
I was still faced with a challenge – similar to the first mile / last mile problem in supply chain, I need to get wire from the router to the bridge and wifi from the client.
Just for proof of concept I used the TP-Link internet over powerline to get power to the access point and tested the speed at the outbuilding at 15Mbps / 15Mbps. That was disappointing; I expected the internet over powerline to be the bottleneck, but in this configuration the throughput is slower than the IOP alone.
But for now it is enough to stream video and support a security camera, and now that I have a functional system, I can make improvements as I go.
Phase II: Making The Final Connection
I completed the installation with a few modifications to the original:
I purchased two Eero 6e units on a Black Friday deal. I installed one in the room near the access point in the house so there is a wired connection from the Eero to the access point. I installed the other Eero unit in the outbuilding to complete the setup. It connects by wire from the access point, and gives the same mesh feel as in the main house.
The outbuilding is not environmentally controlled, so I am interested to see how well the Eero 6e survives in the wild. It will not be exposed to elements, but will see temperature and humidity ranges near its specified limits. If it stops working or has issues I will upgrade to the Eero 7 which is built more robustly to handle environmental fluctuations.
In this final exercise I discovered that I can keep the wireless bridge proprietary transmission mode turned 'on' and still have full throughput.
I am now getting 94Mbps download and 24Mbps upload from the outbuilding connection.
What is your experience with in-home internet solutions?
Any ideas on how to increase the speed?
Have I overcomplicated it?
Please comment below.


